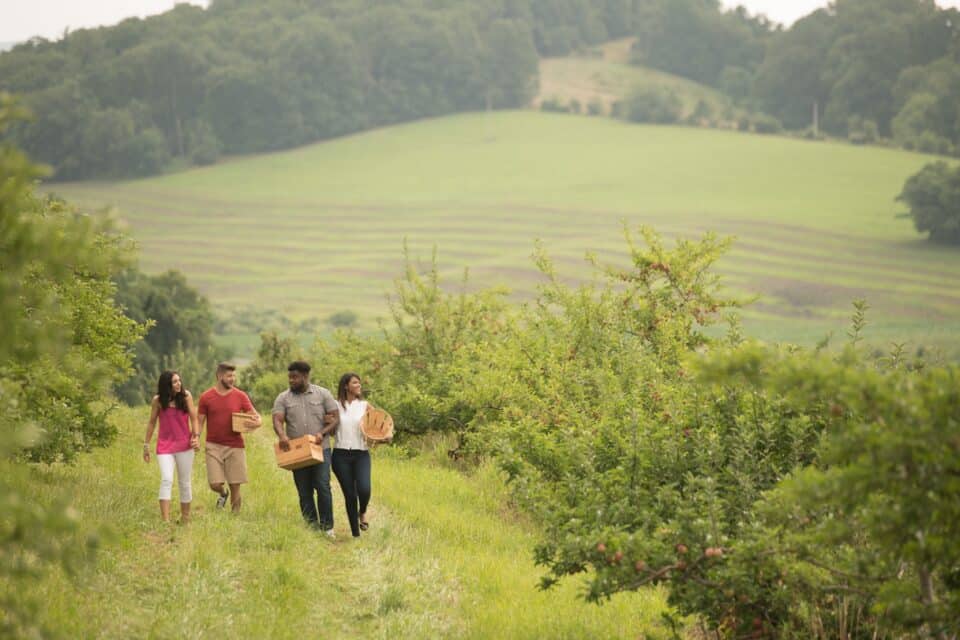
Project Weekend is a reoccurring how-to column that follows Dish writer Chelsea Sproul as she takes on DIY projects in her tiny kitchen.
Recently, like many people I’m sure, I’ve been a little Pinterest crazy. I’m always looking for new ways to “upcycle” things I would normally recycle or toss, so I was especially excited when I saw tutorials pop up for turning beer and wine bottles into cups. I love beer AND I use cups … perfect match? Below I’ll outline each step and include tips and pictures to guide you on your path to creating the coolest repurposed bottles your friends have ever seen outside the realm of Pinterest.
Materials
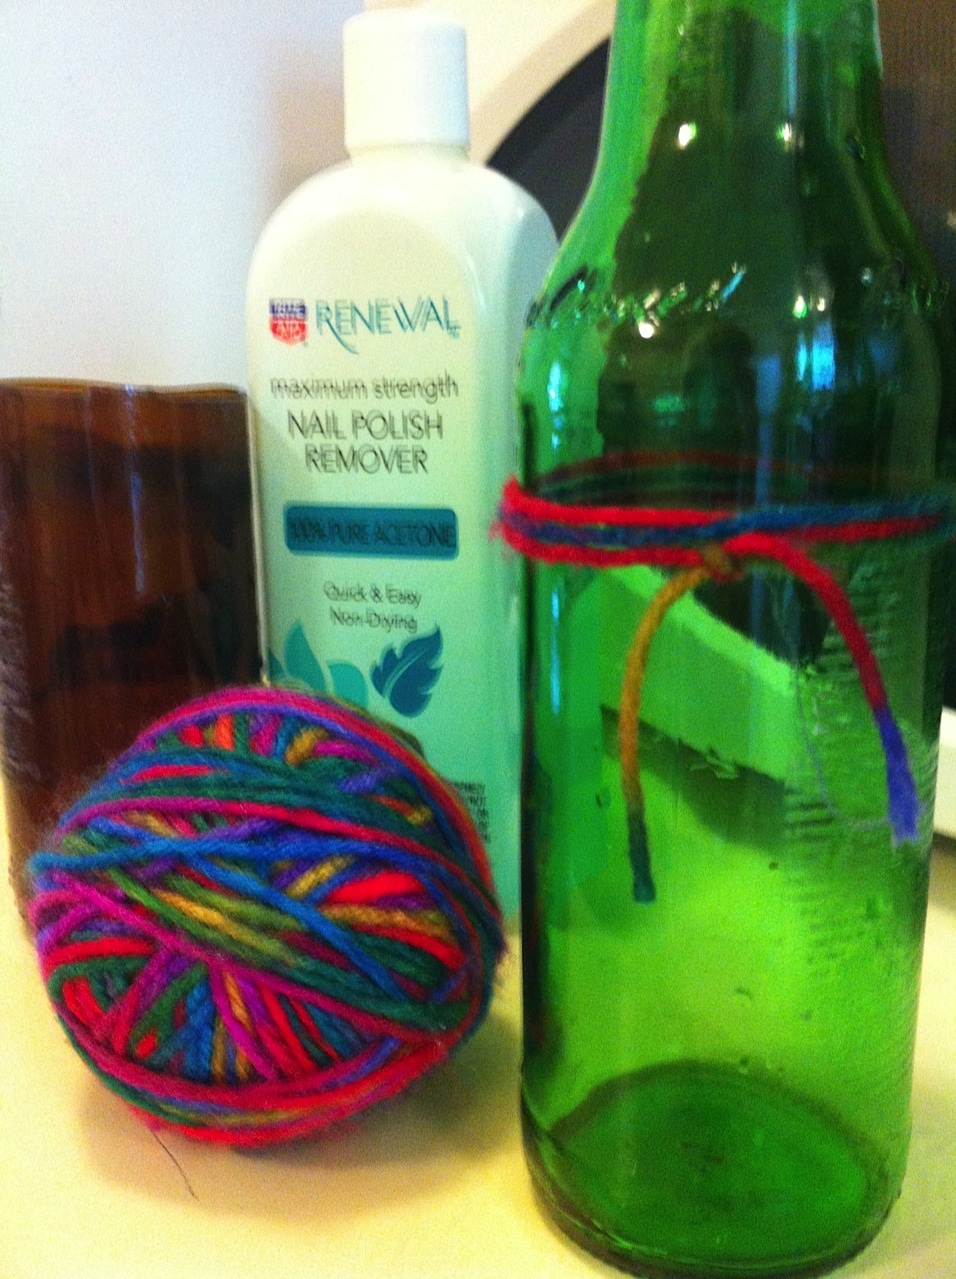 You’ll need yarn, pure acetone nail polish remover, a lighter, a sink full of cold water and sandpaper.
Step 1
Gather some empty beer bottles. If you find none, this is an excellent excuse to drink your favorite beer in the name of recycling. Thinner bottles will be easier to cut but may also crack during the process. I just picked a few different bottles, each of different weights, so I could experiment.
Step 2
Wrap your yarn around a bottle three or four times. Cut and tie so the yarn fits the bottle snugly. Next you’ll need to slip the yarn off the bottle and soak in acetone. While you’re doing this you should fill your sink with ice water.
Step 3
Remove yarn from acetone bath and slip back over the bottle. Place the yarn where you’d like to cut the bottle, making sure that it’s placed evenly as it will determine where the bottle splits.
 Step 4
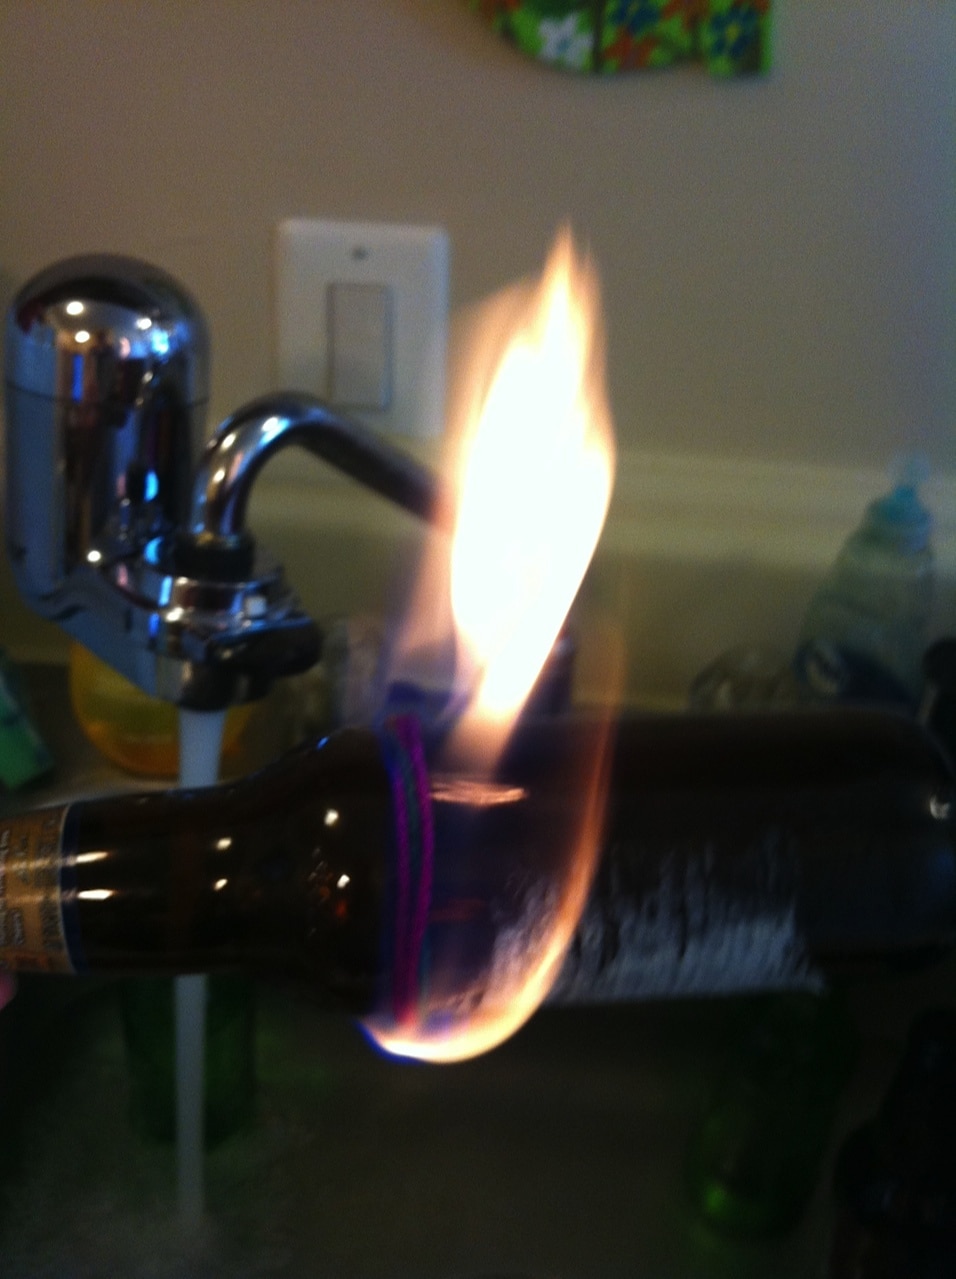
Hold the bottle horizontally over your sink full of water and carefully light the yarn. Keeping your hands at either end of the bottle, slowly rotate so the flame burns evenly. Use caution when attempting this step and never move away from your sink!
Step 5
When the yarn burns out quickly submerge your bottle in the ice water. At this point the bottle should split where you placed your yarn. My first bottle didn’t split and it may take a couple of tries to get the desired effect. The Coke bottle I tried cutting gave me a hard time—when I tried cutting it initially all I got was a slightly burned bottle with no sign of splitting. They’re definitely thicker than the average beer bottle. The Yuengling bottle I used split cleanly and immediately.
Step 6
Sand the jagged rim of your glass. I used sandpaper to polish the rim to a smooth, even surface. This takes some time, so be patient! You can easily sand the edge while watching Netflix, making this a great rainy day activity. It took me roughly 30 minutes to sand the edge of one glass until smooth.
 Step 7
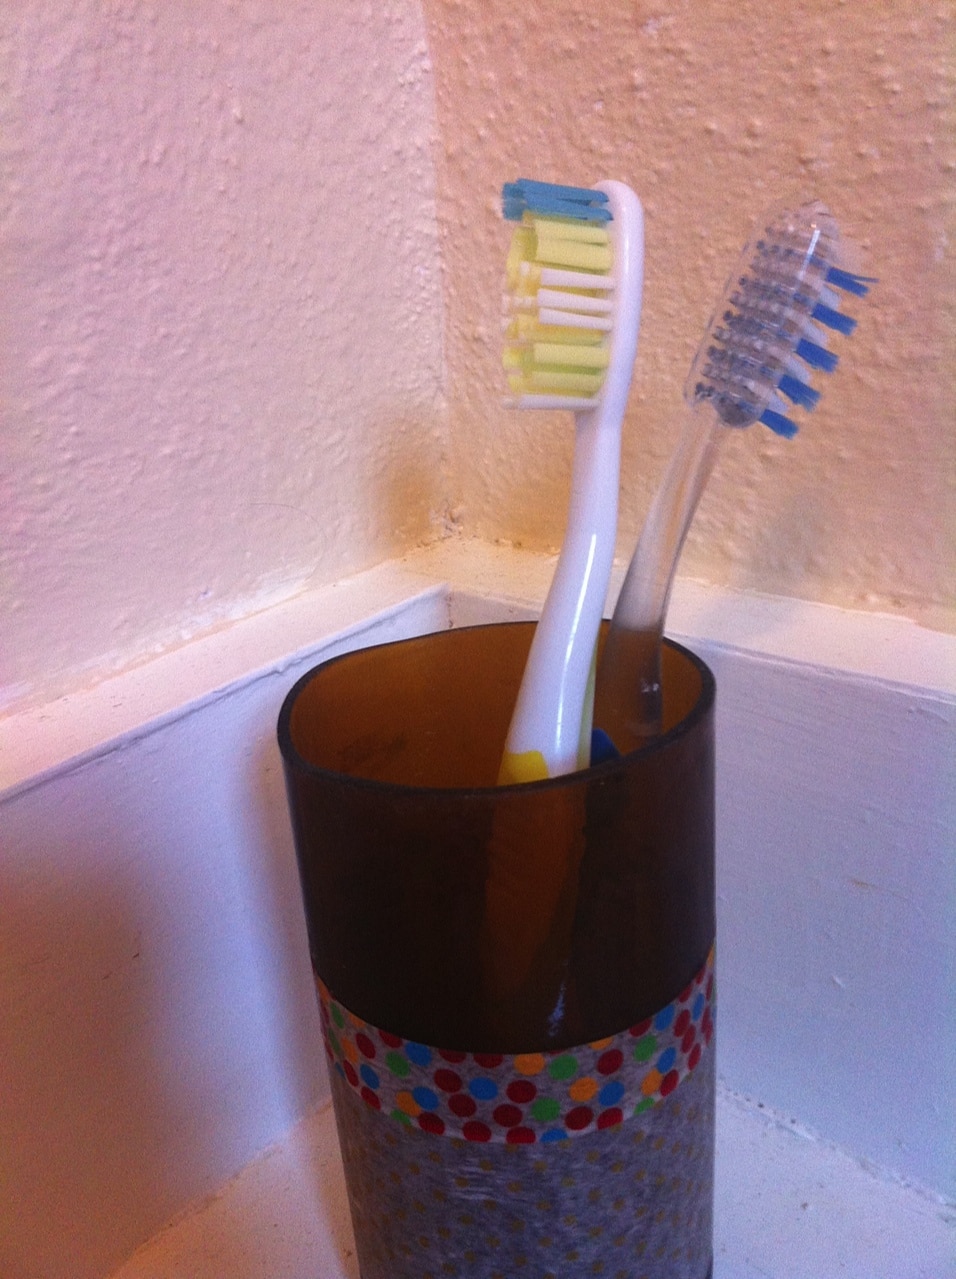
Decorate! I took the label off my bottle, but if you leave it on you might want to coat the bottle in a thin layer of Modge Podge to keep your label intact. I decided to turn the Yuengling bottle into a toothbrush holder. Using Washi tape and Modge Podge, I added a cute polka dot trim to my glass. The other cups I made will be turned into a fun little set of glasses that I can use as a present or housewarming gift. In addition to glasses, you could make anything from tea lights to soy sauce bowls. Get creative!
- Photography: Chelsea Sproul.
One Comment