Need some low-cost (read: practically free) art for your kitchen? Want to flex your artistic muscles in a low-pressure, foolproof way? Veggie stamping is for you, my friend.
Springtime bliss and industriousness were in full effect at this particular veggie stamping workshop, taught by graphic designer Sarah Zero of Jackalope Heart and event planner and stylist Sarah Kudlack of Juniper and Dash and hosted at West Elm’s Center City location.
Armed with bowls of veggies (not for consumption), sheets of muslin, acrylic paints, knives, cutting boards, and sangria and fancy cupcakes (definitely for consumption), our leaders shared the joy of creation and experimentation.
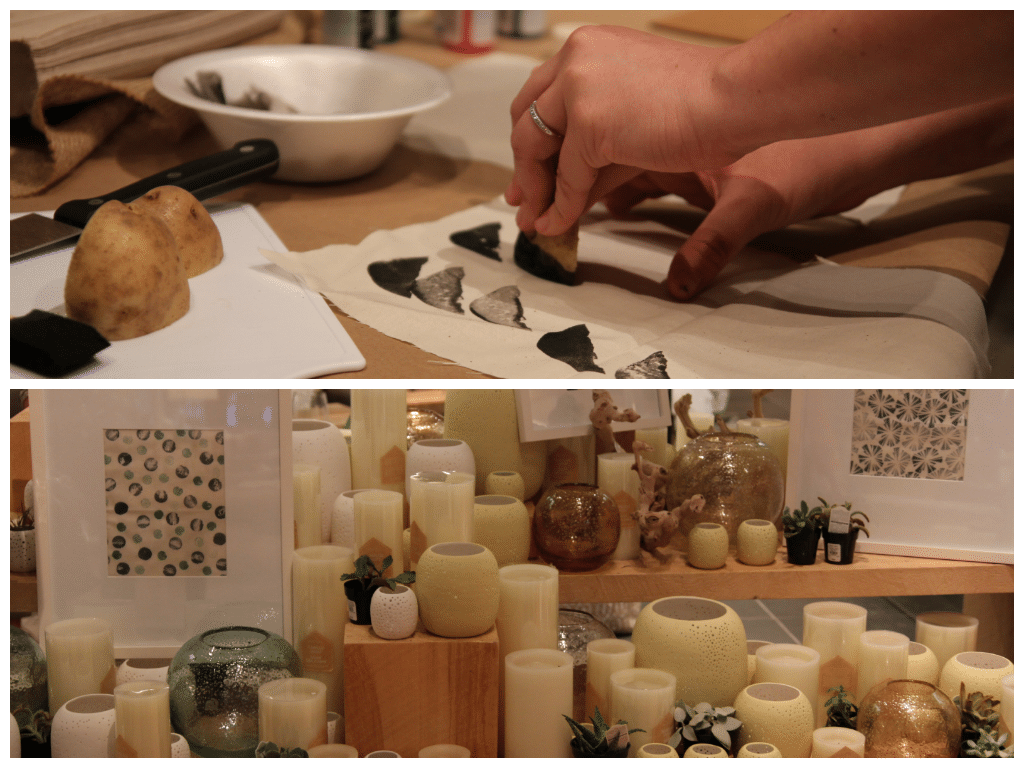
The simplest experiments yield interesting results. Sarah Zero kept encouraging all of us to throw perfectionism to the wind and “get weird.” I tried to take her advice, and the less I cared about carving the perfect carrot stamp, the more interesting and complex my patterns turned out.
Sarah Zero also encouraged us to use the natural and unique variances in shape of each vegetable. For example, the side of a lumpy potato paired with some blue or grey paint can easily translate into a cloud. Bumpy celery turns into seashells or flower petals or just an interesting texture.
Even if you missed the workshop, there’s no reason why you can’t mix up your own sangria and tasty cupcakes to emulate the full West Elm workshop experience at home! Veggie stamping could work equally well as a kids’ craft, low-cost girls’ night activity, or date night endeavor. I guarantee you probably have most of these ingredients lurking in your closet and refrigerator.
Vegetable Stamping Tutorial:
Materials:
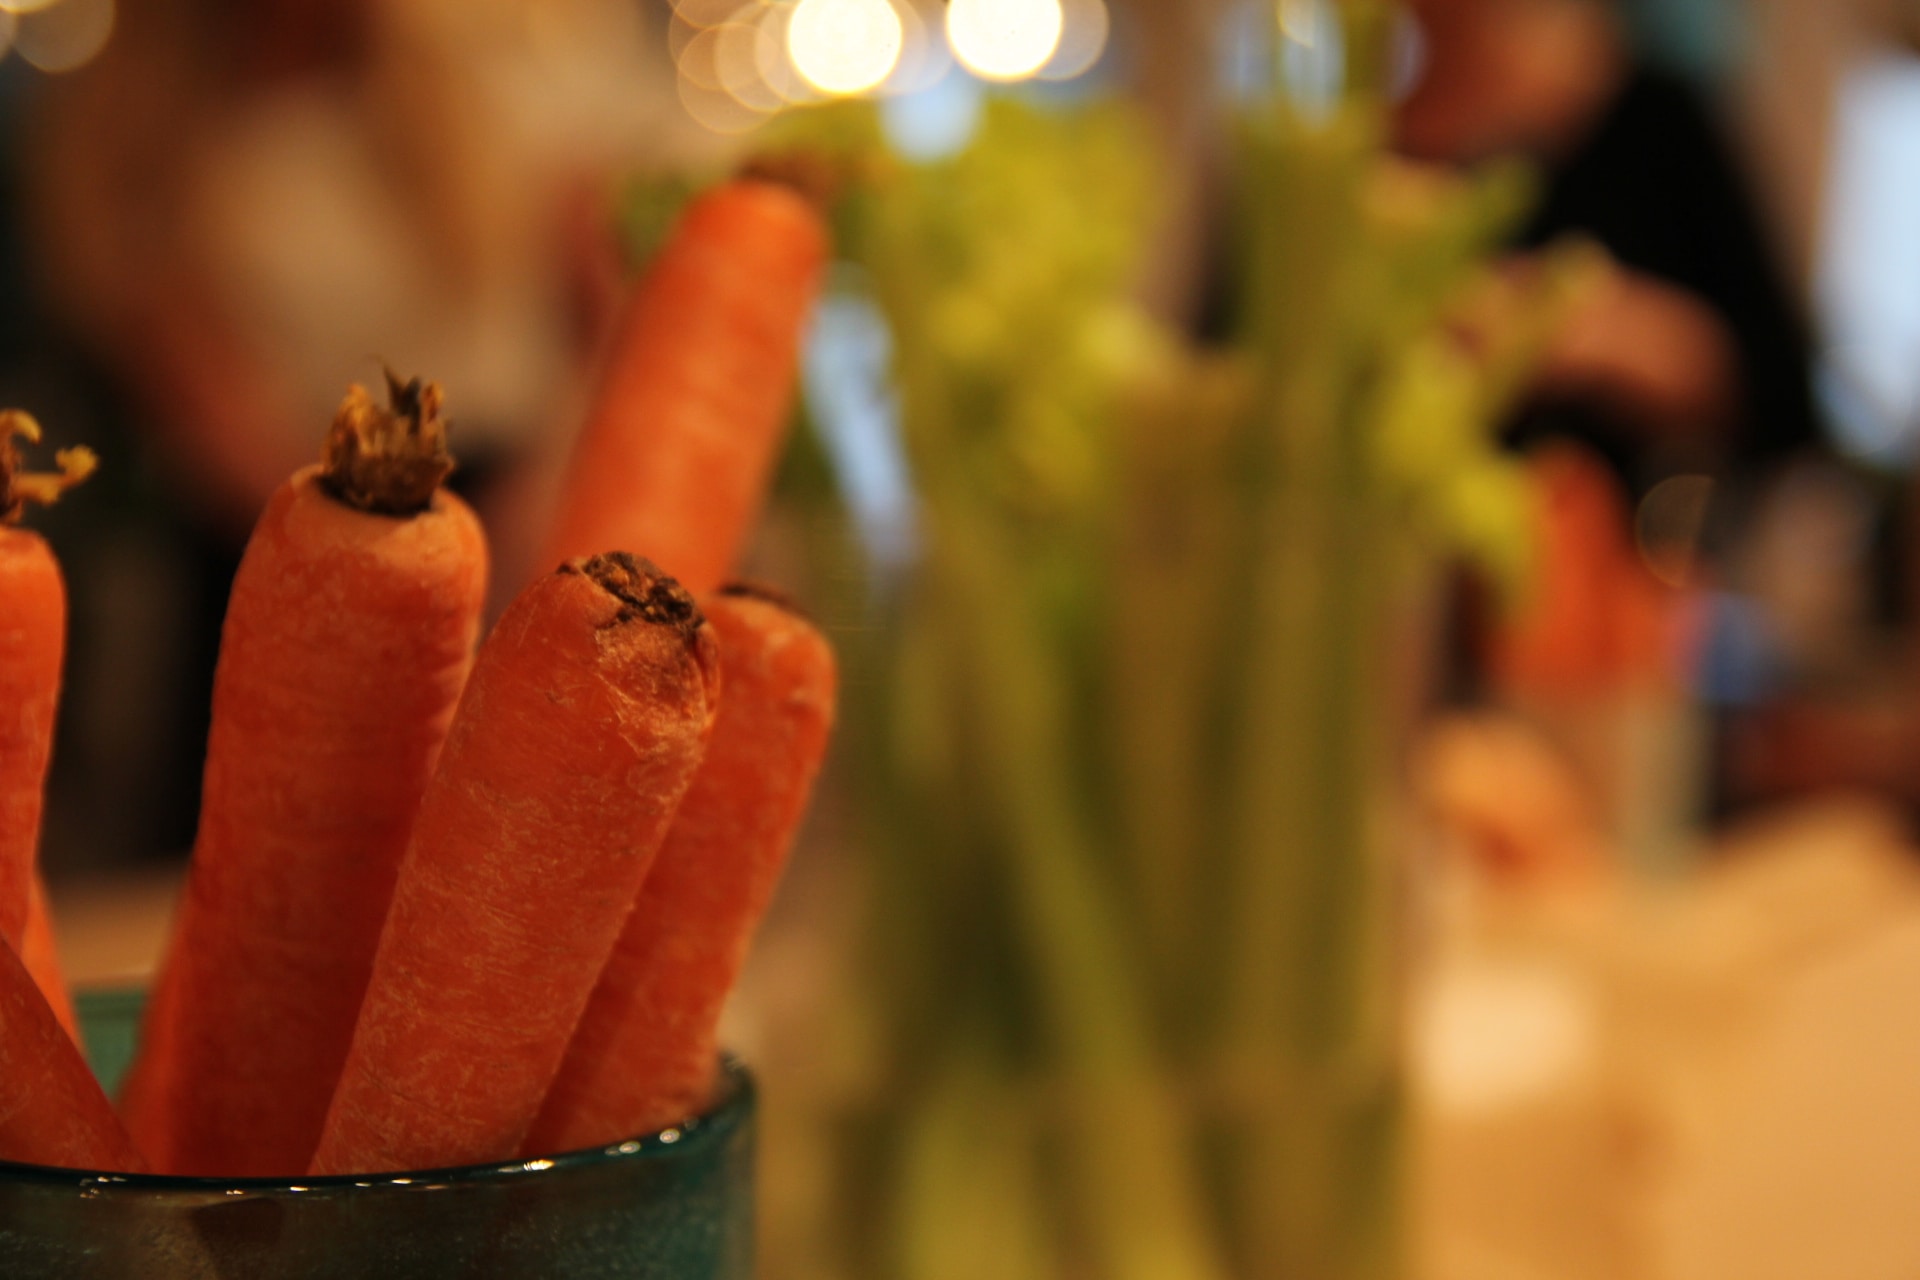
- Various veggies — carrots, potatoes, celery, and sweet potatoes all made an appearance at the workshop
- Acrylic paints
- Water
- Muslin
- Sponges
Method:
Start by mixing a dollop of acrylic paint on top of a bit of sponge in a container with a bit of water to dilute it so that the paint will smoothly coat the end of a stamp. The sponge acts as a makeshift stamp pad to evenly cover the end of your vegetable of choice. The vegetable stamp should be liberally covered in paint, but not too drippy or clumpy. Reapply paint to the stamp as needed. Muslin works best to stamp on, because it will absorb some of the moisture, but dries quickly and is easy to frame.
Grab a veggie! Coat the end with paint! Stamp away! No really, it is that simple. If you need inspiration, look around your house for patterns and color combinations to imitate. Some of the best patterns that emerged during the workshop were comprised of simple, repetitive stamps cut into stark geometric shapes. However, the best part about veggie stamping is that the possibilities for shapes and designs are as endless are one’s ability to carve into the end of a potato. Cheers to your new art!
Keep an eye on West Elm’s Facebook page for upcoming events and workshops like this one, and follow along on Instagram for a sneak peek behind the fun.
- Photography: Lisa Yoder


One Comment