I would love to weave a romantic story for you about how I first started infusing my own vodka to unleash my creative passion, or that I tried an amazing batch and had to learn the craft for myself. But, the cold truth is that I started infusing vodka with my roommates as a way to enhance cheap vodka at our college house parties. It’s definitely not the most glorious start, but after making a few batches of pineapple and mango vodka my creative juices started flowing and my recipes grew more complex. At this point, I was over the large house parties and my experiments became more of a science. I made some mistakes along the way and I am hoping this beginner’s guide to infusing your own vodka can get you creating your own batches while minimizing the mistakes. In addition to the pointers, I have also included some of my favorite recipes.
Infusing your own vodka is actually an extremely simple process. It’s as easy as adding natural flavoring ingredients to vodka and then removing them. It takes a bit of a time commitment (anywhere from one day to a week), but being an avid homebrewer, the infusion process feels like instant gratification to me. Infusing vodka is useful for spicing up your cocktails, it will impress your dinner party guests, it makes a great gift and it is a fun way to experiment with new flavors. You can infuse other liquors besides vodka, but I stick with vodka since it is the most neutral spirit and an easy way to learn the infusing basics.
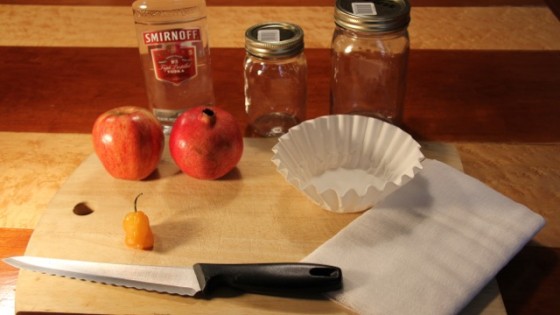
To get started you need:
-
A bottle of vodka
-
Ingredients
-
A glass mason jar or two
-
Cheesecloth
-
Coffee filters
When choosing a vodka you do not want to spend top dollar for very fine vodka since you are going to alter the flavor anyway. I also implore you not to buy the bottom shelf vodka as you will not be able to enjoy your labors if the flavors are drowned out by impurities and harsh burn. Potato vodka can often be pricier, but if you can find a bottle in the right price range it will offer a cleaner flavor that will not distort your recipe.
The next step is to come up with the ingredients you want to use in your vodka. Typical ingredients include fruit, herbs and spices, but almost anything can be infused. The time needed to infuse the ingredients depends on what you put into it. Strong-flavored, porous ingredients can infuse within the first day, but it may take two or three days to incorporate the right amount of flavor. Ingredients with more subtle flavors may take three days to a week to fully infuse. The best part of infusing vodka is that you can taste your creation along the way to ensure that you have used the right amount of each ingredient and that you have let it sit in the vodka for long enough. After two or three days you may realize that one flavor is completely overpowering another. If this is the case you can remove the strongest ingredient and wait a few more days to gain more of the flavor of the weaker ingredient. You can also add more of one of your ingredients if you are not getting all the flavor you are looking for.
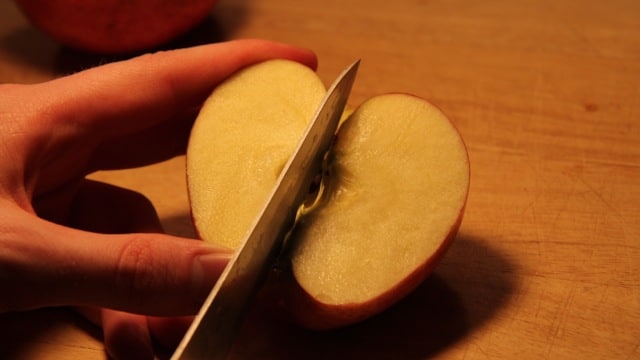
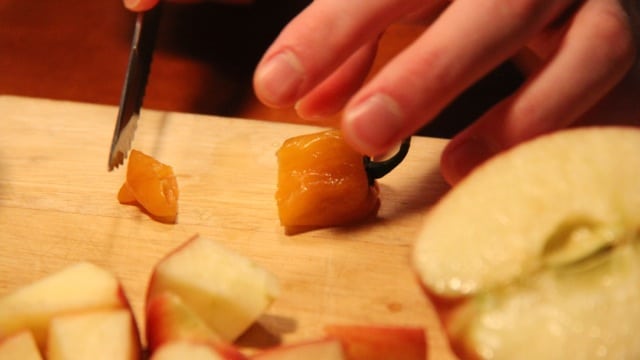
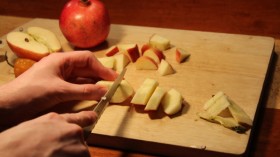 After choosing your ingredients you want to pour your vodka into your mason jar (make sure it has an airtight lid). If you are adding fruit all you need to do is rinse it, cut it into chunks and add it to the jar. If you are adding berries or other smaller fruit you may want to crush them slightly or score the surface with a knife. This will ensure that the vodka can penetrate the fruit and absorb all the great flavors. When adding herbs it is best to rinse them and then crush them a bit to release the flavor-packed oils.
From my personal experience, I would recommend avoiding very oily ingredients as well as very viscous ingredients. My bacon vodka experiment was a bit of a failure as the oil from the bacon separated from the vodka and was quite off-putting. Even after throwing it in the freezer and attempting to scoop the fat off the top it was still a lost cause. Even though bacon didn’t work, I have infused vodkas with nuts and the low amount of oil in the nuts has not caused any problems for me. I have also tried using honey in a recipe to sweeten the vodka. I would advise avoiding honey or any other viscous sugary sweeteners as they will give you an immense headache when they clog up all of your coffee filters. After adding your fresh ingredients to the jar, all you need to do is seal it airtight and place it out of direct sunlight.
Now you will need to agitate the vodka a few times a day by giving it a gentle swirl. As I previously mentioned the great part of infusing vodka is that you can taste it along the way to make sure it is developing the way you would like. If you would like more banana in your strawberry banana vodka then cut up some more and throw it in. If you think the strawberry is strong enough and is taking over then you can scoop the strawberries out and strain them; leaving the banana for a couple more days.
Anywhere in the first week (sometimes longer) of tasting you will find that the vodka has infused and you are satisfied with the flavor. Once you are ready to halt the infusion process all you need to do is filter the ingredients back out of the vodka. If your infusion has a few ingredients that are still whole, such as hot peppers or herbs that are not sliced, you can run your vodka through a coffee strainer once or twice until the vodka is clear. If your recipe is more complex and includes ingredients that can break down easily I suggest running your vodka through cheesecloth first to remove the larger chunks. Afterward, you can run it through the filter a few times. I recommend doing this at least twice for recipes that include spices or other ingredients that can break down. Once your vodka is completely clear and your mason jar has been washed, you can pour the vodka back into the mason jar and serve it when ready.
Below I have a few recipes that you can use to hone your newfound infusing knowledge. You can also put your creativity to work and try something completely different. When I started experimenting with different recipes I would buy a bottle of vodka and dole out a cup for each of my mason jars so I could try several recipes in smaller batches before moving up to bigger portions. I have kept my recipes in the smaller portion size so you can taste it before trying it with a large batch.
Apple Cinnamon
Apple Cinnamon is definitely my favorite recipe and the one my friends ask for the most. This vodka tastes great when mixed with apple juice or hot apple cider. But, according to my friend Brittany, it tastes best when mixed with sparkling cider.
Ingredients:
-
2 cups vodka
-
1/2 an apple cut into large slices (I prefer Gala apples)
-
2 inch piece of cinnamon stick
Method:
I generally give this three days, but you should know when it is ready.
Scotch Bonnet
This recipe is a huge favorite of mine, even though I hate spicy food. If you are not familiar the Scotch Bonnet chili pepper it is one of the hottest in the world. When infused with vodka it makes a mean shot. This recipe uses an extremely hot pepper, but as long as you only use a slice or two of pepper and check it often you will be able to control how hot your vodka gets. You can also use other chili peppers, but my personal favorite is the Scotch Bonnet. This vodka is super quick and easy to make and it is perfect for mixing with your next Bloody Mary.
Ingredients:
-
1 cup vodka
-
2 thin slices of Scotch Bonnet peppers without any seeds
Method:
I usually filter this after just one day. If you like more spice leave it in longer, but be careful.
Pomegranate Apple
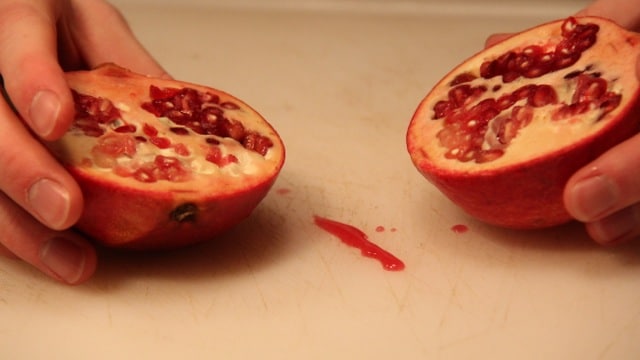
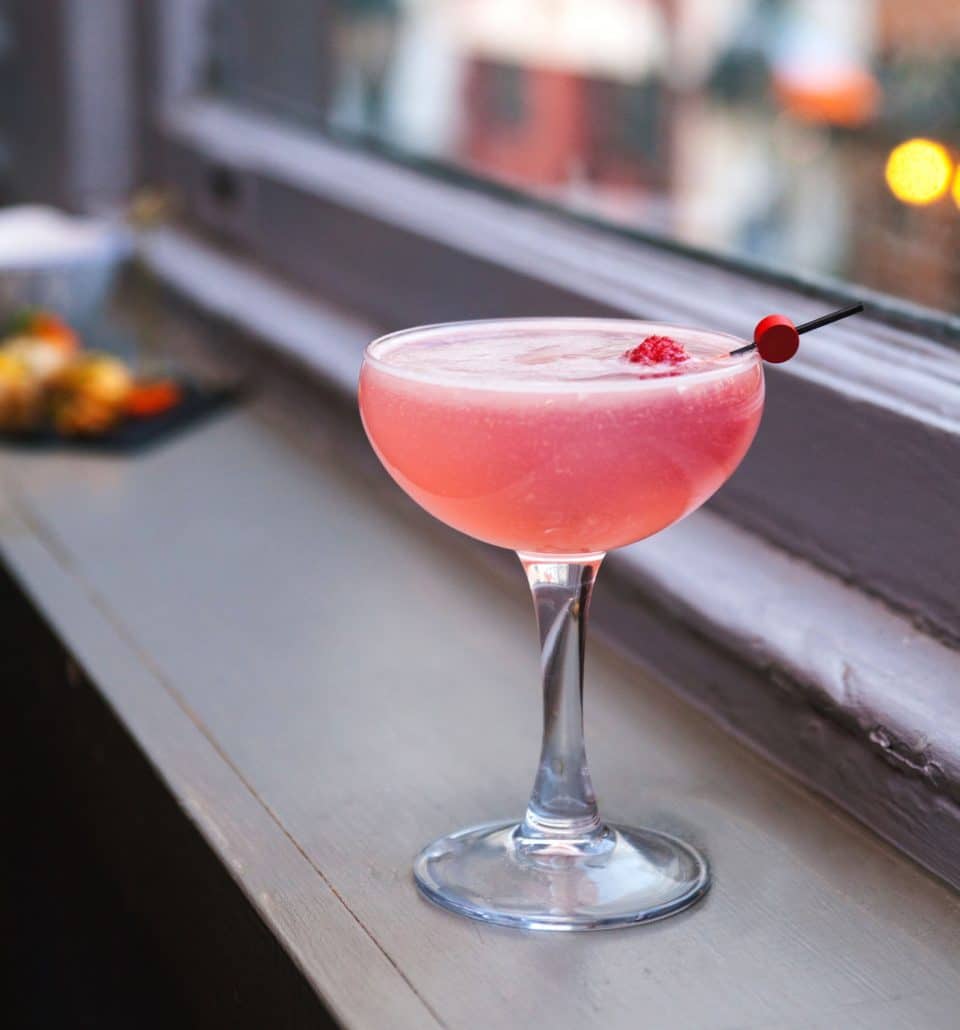
This recipe is great for making refreshing spring cocktails. It’s a nice balance of sweet and tart and it goes well with many popular fruit cocktails. You can also try it in a Pomegranate Martini or Crimson Crush.
Ingredients:
-
2 cups vodka
-
1/4 an apple cut into large slices (I prefer Gala apples)
-
3 Tbsp of pomegranate seeds
Method:
This can take 4–6 days depending on your flavor preference.
This guide and these recipes should help you get started. You are on your way to becoming an infusion master. My best advice is to start simple and work your way up to more complex flavors and to test each batch in small sizes before moving up to a larger portion. Good luck!
Photographs credited to Ryan Lancello.