Project Weekend is a recurring how-to column that follows Dish writer Chelsea Sproul as she takes on DIY projects in her tiny kitchen. This is the first installment of Project Weekend.
This Easter I skipped the eggs and bunnies and got down and dirty in my kitchen instead. Balancing a full time job and graduate school has started to take a toll on my eating habits, so I decided it was time to take a day to get back in touch with my kitchen. In addition to whipping up a few meals for the upcoming week, I started a project I had been dying to try—making my own flavored sea salts!
 I’ve been seeing jars of this stuff popping up in gourmet stores everywhere. Like any gourmet food product, buying special sea salts is expensive. If I’ve learned anything since graduating from college it’s how to live on a budget. Cooking for myself and making what I can is at the core of eating on the cheap!
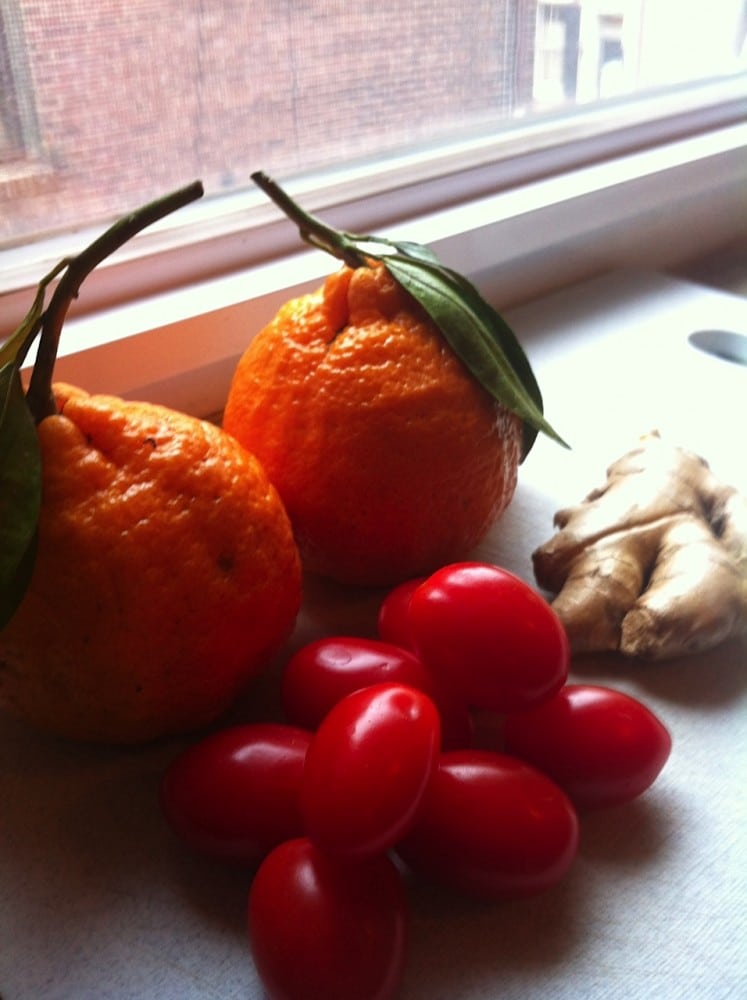
I already had mason jars stowed away from another project, so all I had to do was make a quick trip to the grocery store. I grabbed a bag of coarse sea salt, tangerines, ginger root and garlic. I’ve noticed that many of the flavored sea salts seen in stores feature multiple flavors—lime and ginger or perhaps lemon and rosemary. Those sound delicious, but I wanted to keep it simple for my first try.
After some thought I decided to make three varieties: roasted tomato, tangerine and ginger. I know that these ingredients must be dried before they can be added to the salt, so I did some research and found that although a dehydrator is ideal, I could easily slice my ingredients thinly and dry in the oven.
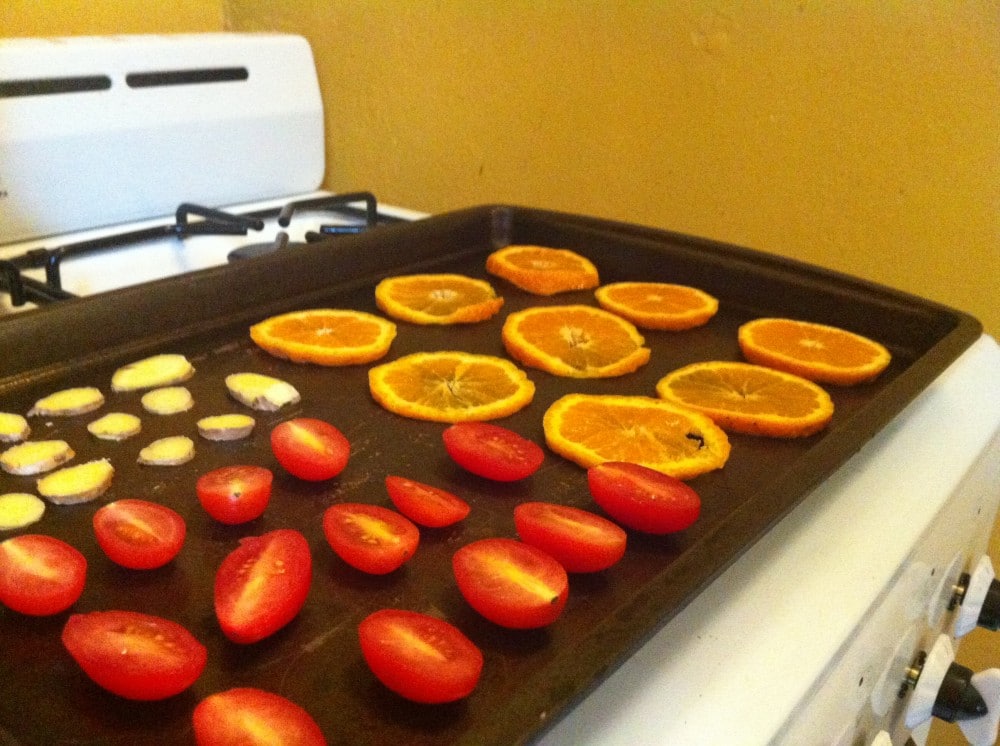 I sliced the two tangerines and a garlic root no bigger than my palm very thinly, and cut six cherry tomatoes in half lengthwise. If I were to dry citrus in the oven again I might slice them slightly thicker next time, as I burnt the two thinnest pieces in the drying process.
I have a gas oven in my apartment so I had to mess with the temperature to keep the pilot from going out, but I tried to keep it between 150° and 200° F. The ginger and orange dried in two hours. I checked them—or, more accurately, poked them—every 15 minutes during the second hour. The tomatoes contained a bit more juice, so I left them in for almost five hours. Those didn’t burn as easily as the citrus, but I did need to keep a close eye on them in the last half-hour.
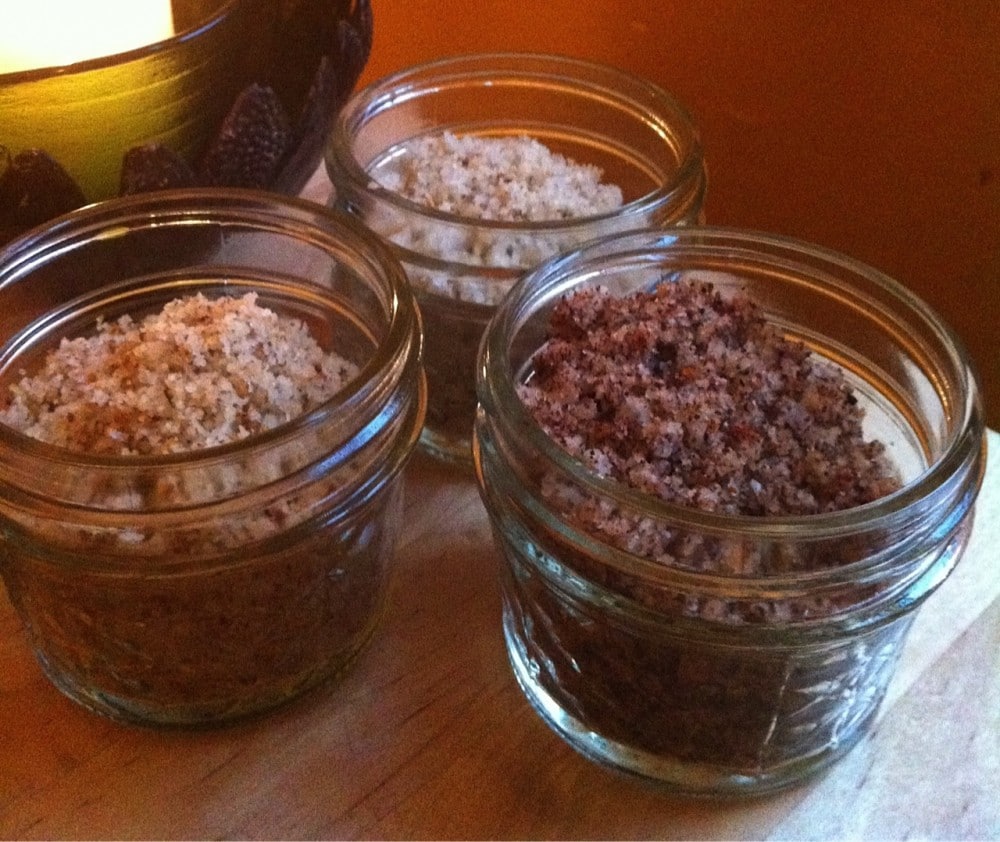 After drying my ingredients I pulled out my trusty magic bullet blender to grind each flavor into a more powdery mix that would blend well with the salt. The ginger and tomatoes turned out fine, but the consistency of the orange was a little strange. I’m not convinced that the oven is a good place to dry citrus. Before I removed each ingredient from the blender I tossed in the salt and blended gently for one or two pulses. This mixed the flavors into the salt without taking away that great texture I love about sea salt.
To be honest, I despise measuring and didn’t do much of it during this project. Having tasted each of the flavored salts I feel that they turned out well, but it wouldn’t hurt to dry a bit extra of each ingredient to allow for the pieces that fall victim to the oven and ensure you have enough flavoring to go around.
The possibilities for new combinations are endless, and I’m really looking forward to showing off my new flavored sea salts. Using these salts will be a great way to elevate and refresh simple dishes that might otherwise feel like a boring meal. I can also imagine that with a little decoration to my mason jars these would make really unique gifts.
- Photography: Chelsea Sproul