If you’re a fan of Pennsylvania produce, now is likely one of your favorite times of the year, with a glorious abundance of pretty much all the fruits and veggies you crave at your fingertips. You’ve brought home bushels of tart berries from local pick-your-own farms, scoured your socially distanced community farmers market for the prettiest tomatoes, and you’ve ordered dozens of ears of succulent sweet corn online from regional producers. When this much incredible peak-season produce is available, it seems like the good times will never end.
But, as it does year after year, it will end. The season winds down, and by mid-fall, it’s back to sturdy root veggies, hearty greens, gourds and apples. That’s not a bad thing, per se. But it’s all too easy to miss the tender, sweet, bursting produce of summer, not long after they’re gone.
As savvy and resourceful home cooks have been doing for generations, you can set aside some of your summer favorites to preserve for darker, colder days. Canning and jarring have made a big comeback over the past few years, and if you’ve never tried preserving, now is a great time to start! If you’re a novice, you can start slow with some simple, no-fail projects — though the word “canning” might make you think of an entire cupboard lined with jars of jam, there’s no need to embark on such an ambitious project if that doesn’t feel doable.
Here are four ways to preserve peak-season PA produce that anyone can try:
Pickling

One of the most classic ways to capture the flavors of summer is pickling. There are various methods to pickling produce, including fermenting them or canning them. Our favorite method is quick pickling, because as the name implies, it’s a fast and easy way to go. Quick pickles, sometimes called refrigerator pickles, require making a simple brine of equal parts vinegar and water with the addition of salt, herbs and spices. You can get creative with the flavor combinations or keep it straightforward with sea salt, black peppercorns and garlic.
No matter how you want to flavor your pickles, the basic quick pickling formula is the same: In a medium pot over medium heat, combine the vinegar and water and simmer, while adding the other ingredients. Take the brine off the heat and allow it to cool slightly. Place your veggies in jars or containers, then pour the brine over them until they’re covered. Allow the whole mix to come to room temperature and then refrigerate. After an hour or two they’re ready to use, and they’ll keep in your fridge for a long time if sealed!
One fun hack is that you can also use the brine of commercial pickles to make your own pickles! After you’ve finished the pickles themselves, just put any prepared veggies into the brine and you’ll have a new batch of lightly pickled snacks in a day or two.
Cucumber pickles may be the most familiar, but you can pickle anything! Here are some combos we like:
- Onions, with white vinegar and sugar
- Carrots, with cumin, turmeric, salt and apple cider vinegar
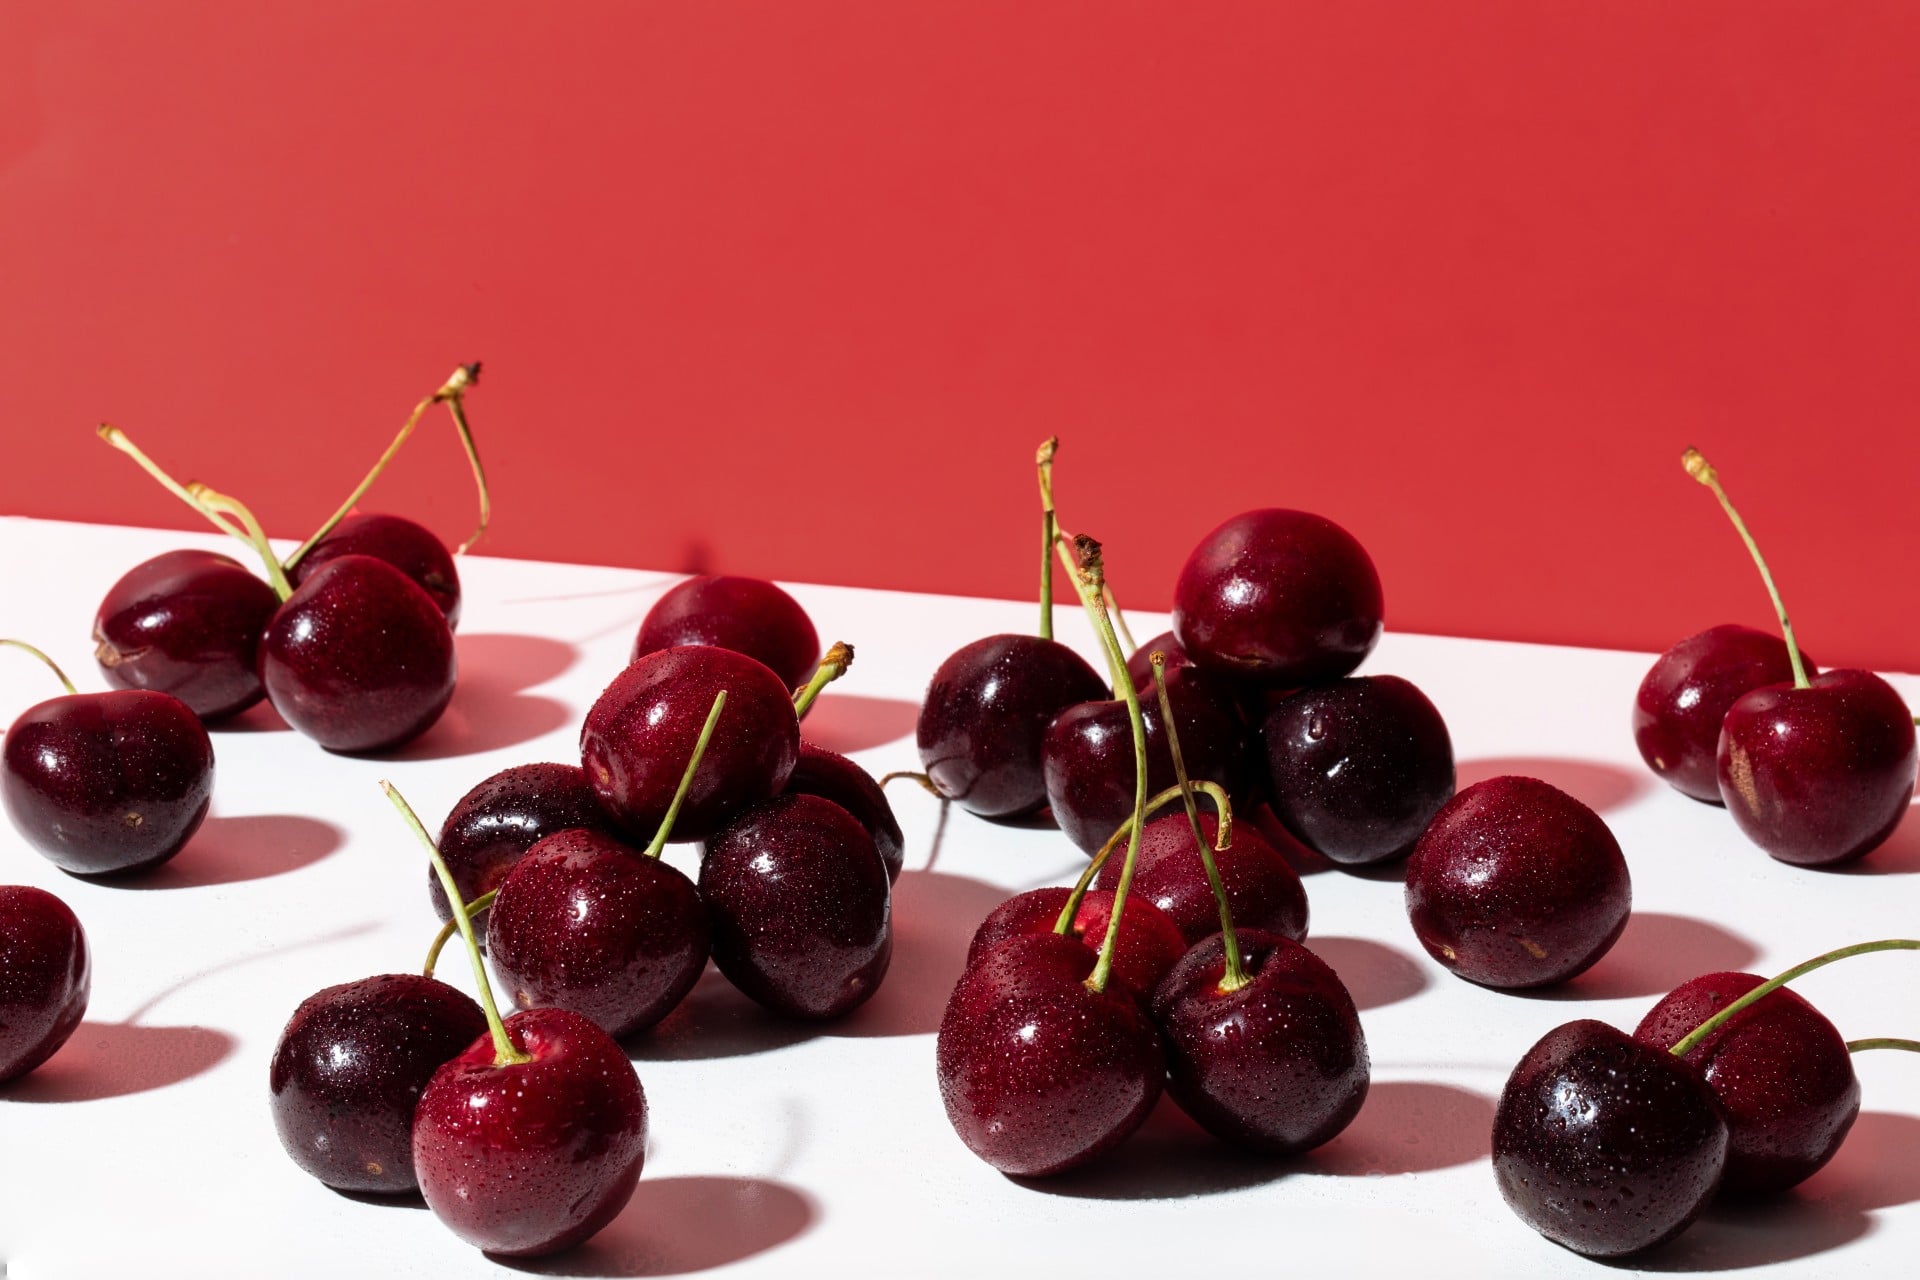
- Cherry tomatoes, with oregano, crushed red pepper flakes, salt and red wine vinegar
- Green beans with dill, garlic and white wine vinegar
- Summer squash with paprika, mustard seeds, salt and apple cider vinegar
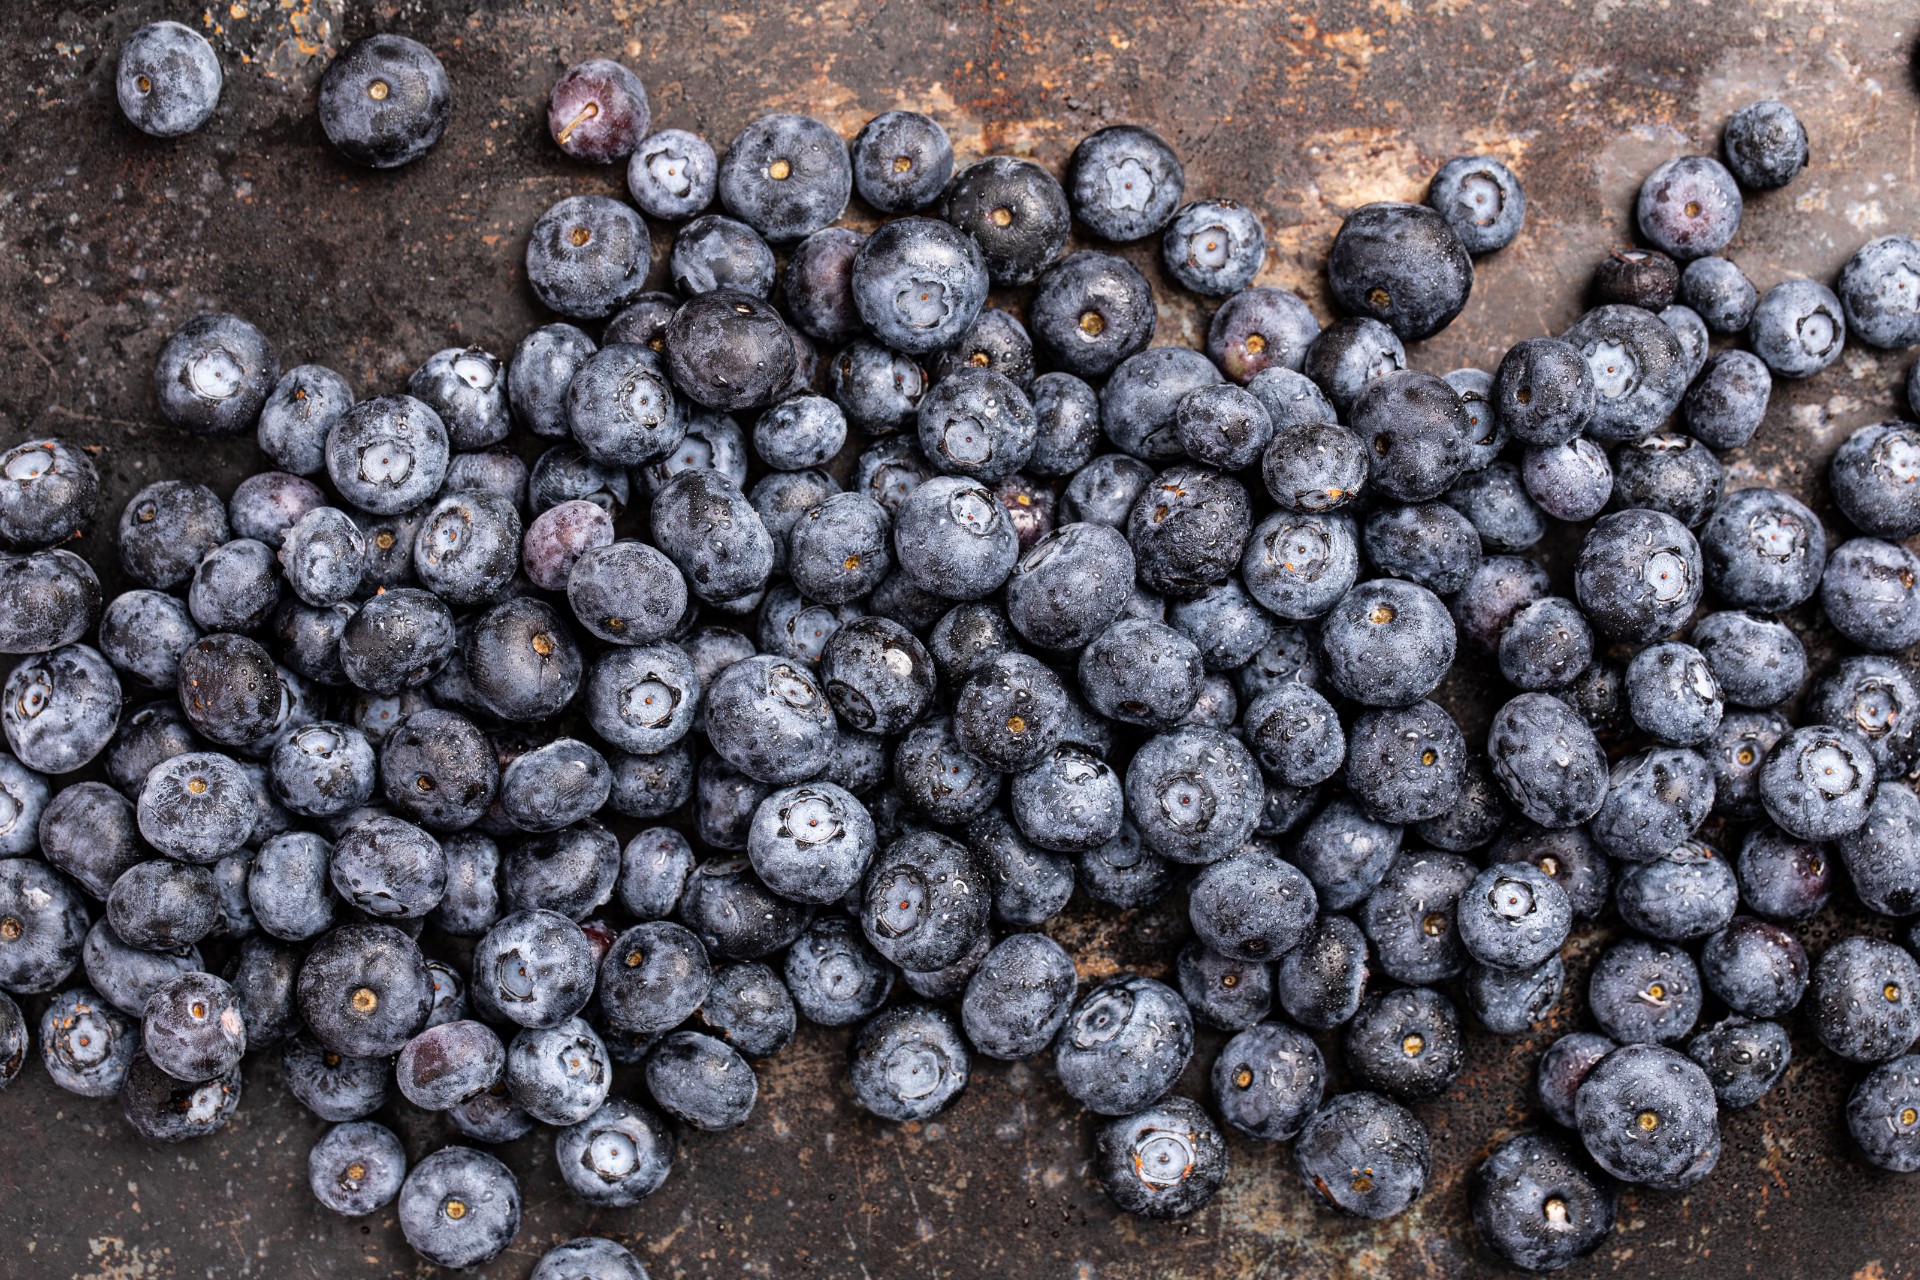
- Blueberries with brown sugar, salt, ginger and sherry vinegar.
Don’t be afraid to experiment and have fun with combinations!
Freezing
For an even easier method of preserving summer produce, simply freeze it! Especially if the fruits or veggies are recently picked, carefully freezing them will keep the delicious flavors and nutrients intact. This is an especially great option for when you come home with an abundance of fruit from a pick-your-own farm, or when you receive a bumper crop from your own or a neighbor’s garden. To make the most of the frozen produce, be sure to follow these best practices:
- Always carefully wash any produce you wish to freeze and allow it to thoroughly dry. Be sure to remove any leaves, stems or other debris.
- Fresh herbs and small fruits should be laid out on parchment paper on a baking sheet and allowed to freeze for a few hours first, before being packaged up.
- Wrap leafy greens, like kale or spinach, in a paper towel before gently tucking into a plastic bag.
- Always use quality plastic freezer bags, preferably with zip tops. Be sure to press out as much air as possible before closing the bag.
- Label each bag with its ingredients and the date you froze it. Especially if you have lots of frozen produce in the freezer, it can be very hard to remember which to use first!
- Use frozen produce within six to nine months of freezing it. When you’re ready to use it, put the bag in the fridge for a few hours to thaw out. Frozen berries and fruit can be added directly to smoothies or into the batter for pancakes or baked goods, and frozen peas and corn can be added directly to recipes without thawing.
- Once something has been thawed, use it all up! Thawed items shouldn’t be refrozen, as it alters their texture to be less pleasant.
Jamming
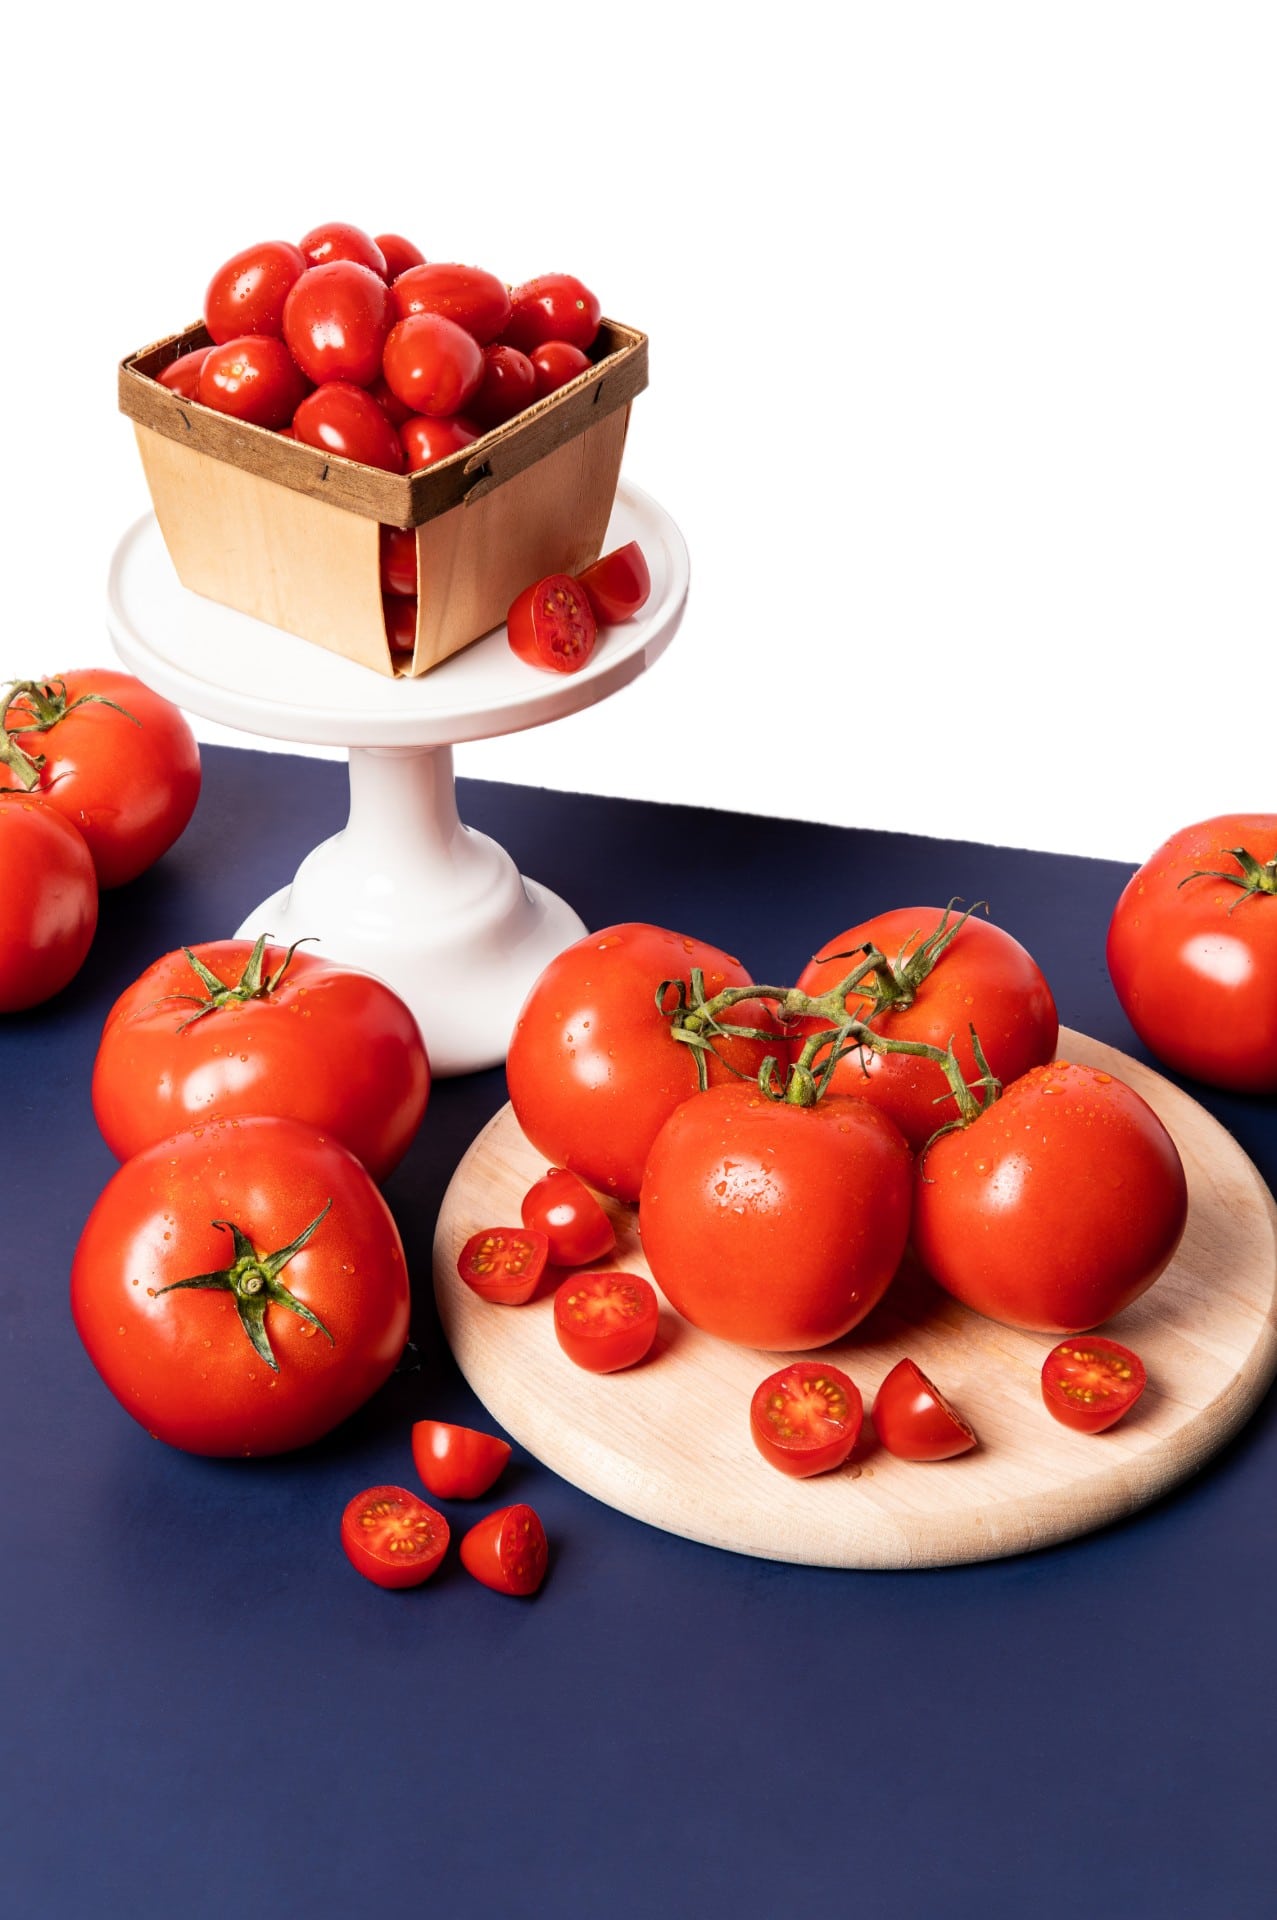
Making homemade jam can be as easy as simmering fruit, sugar and a hit of citrus zest and juice. Any kind of berry, stone fruit, pear or apple can make a delicious jam (we like ours spooned over local yogurt), but other, less-expected produce can work, too: tomato, or tomato with chile for a kick, and carrot and zucchini can all be jammed up, too!
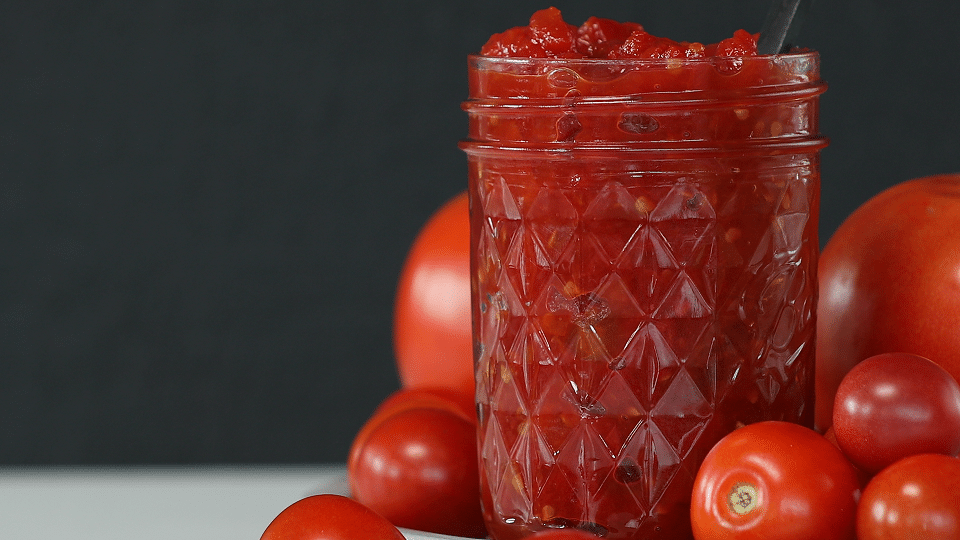 Apple and pear butter made in a slow cooker are approachable alternatives to jam, requiring even less work and clean up! Most stovetop jams will last for about a week in the fridge. To “put up” jarred goods for the long haul, you must truly can them, which requires sealing the jars. See this detailed guide to canning from The New York Times. You can also freeze jam to further preserve it if you don’t want to mess with canning!
Drying or Dehydrating
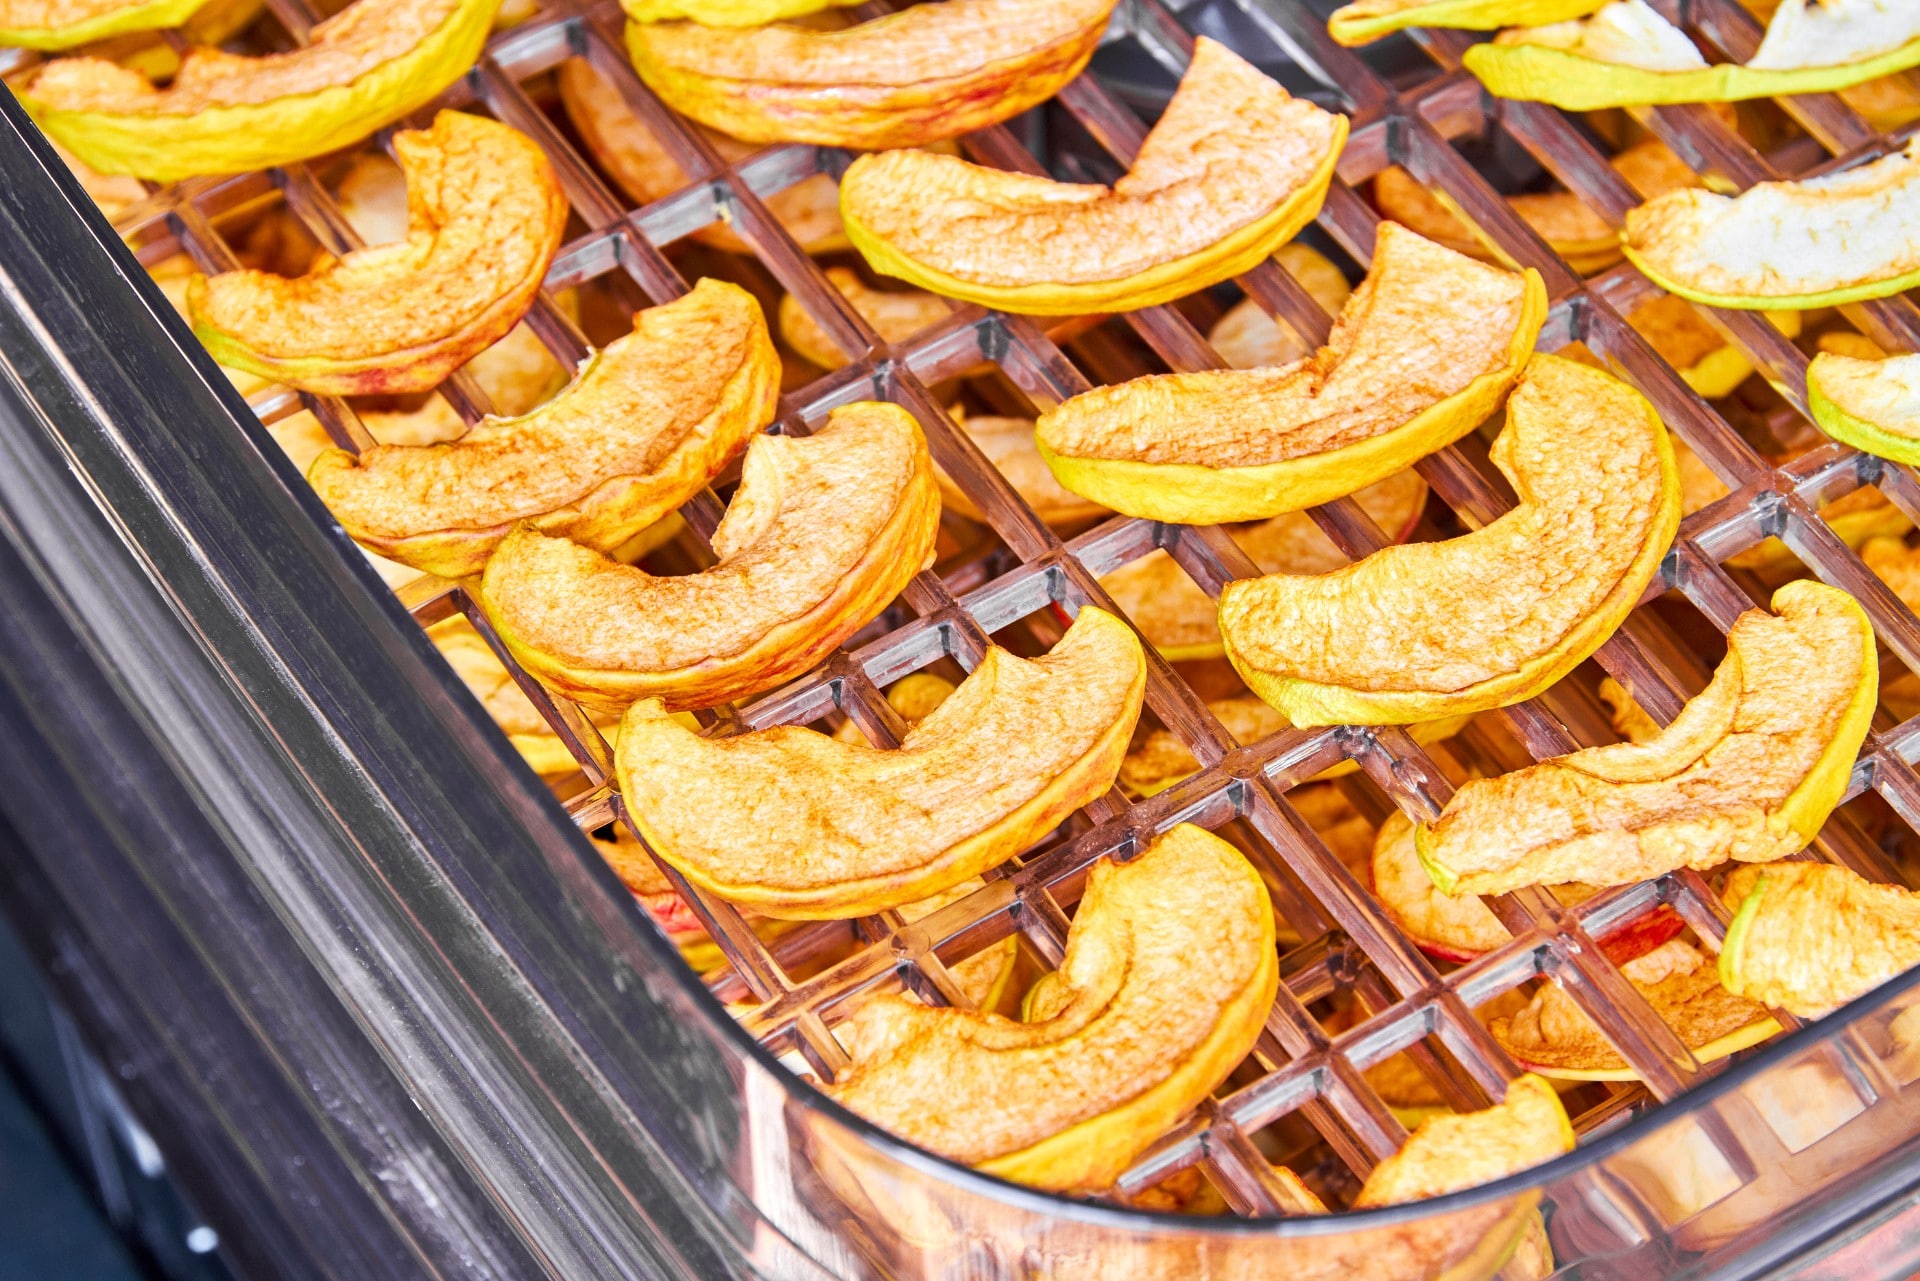
Removing the moisture from fruits and veggies allows them to last for a very long time, and concentrates their flavors and natural sweetness. Dried apples might be familiar to you, but what about dried green beans? Tossed in a bit of vegetable oil, salt and garlic powder, they make a great snack. Dried kale chips are also delicious and healthy, and the same can be said for dried chard or collard leaves. Dehydrated blueberries and strawberries help take your homemade granola to the next level, and dried mushrooms can be ground into a powder that adds instant umami and depth to any stock, sauce or broth.
A dehydrator is perhaps the easiest and most reliable way to transform produce from fresh to dried, but there are other methods that work, too. You can dry out most fruits in a low oven (about 225 degrees Fahrenheit) for 2 to 4 hours. Some air fryers also come with a dehydrator function. However you choose to proceed, be sure it’s washed and dried. For bigger fruit like apples or pears, use a mandoline to ensure thin, even slices for best results!
How do you like to preserve Pennsylvania produce? Let us know in the comments here or on the PA Eats Facebook page!
- Feature photo, blueberries photo, tomato photo and tomato jam photo: Dish Works
- Dried apple photo: BigStock


One Comment